Understanding the importance of the keg coupler is crucial when setting up or maintaining a draft beer system. A keg coupler is the vital connector between the beer keg and the dispensing system. Without it, you wouldn't be able to serve draft beer. Commonly found in bars, restaurants, home breweries, or any setting where beer is dispensed from a keg, this small but essential component makes it possible to draw beer from the keg and into your glass or pitcher. In this keg coupler guide, we'll go over everything you need to know about choosing, installing, and maintaining your coupler.
How Keg Couplers Function Within a Draft Beer System
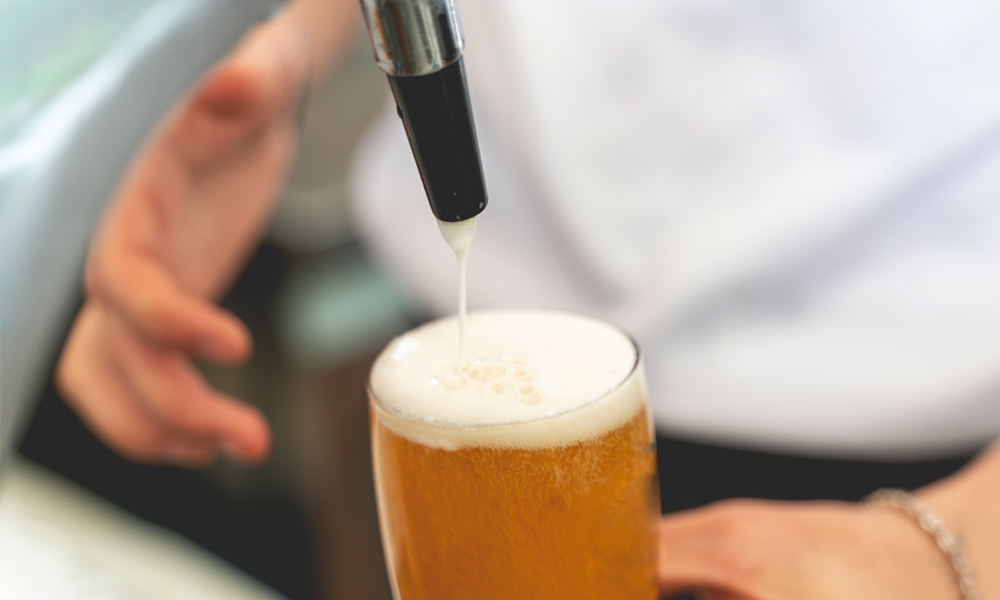
In a draft beer system, the keg coupler has two main jobs: it connects the CO2 or nitrogen source to the keg to maintain pressure, and it facilitates the flow of beer into the beer line and toward the keg tap. When the beer coupler is properly inserted into the keg's valve, it opens the path for gas to push the beer out of the keg. This mechanism helps to control the pressure, making sure the beer flows smoothly without issues like excess foam or lack of carbonation.
Keg couplers are not only important for pushing the beer out of the keg, but they also control the way the beer interacts with the beer line. The beer flows through the coupler, travels through the line, and eventually makes it to the faucet. This flow management is essential for a smooth and consistent beer-pouring experience.
Types of Keg Couplers and Compatibility
When it comes to keg couplers, there isn’t a one-size-fits-all solution. There are different types of couplers designed for various beer kegs. The most common ones are the American Sankey (D System), European Sankey (S System), M System, and A System. Each system is tailored for a different type of keg, and understanding the differences is important for selecting the right coupler.
-
American Sankey Keg Coupler (D System Coupler): Most domestic beers in the U.S. – such as Budweiser, Miller, Coors and even a craft pale ale – use the D System keg coupler. This system is simple and effective, featuring a single valve for both the beer and gas lines. It's the most common type of coupler used in North America and works well for a mini keg.
-
European Sankey Keg Coupler (S System Coupler): European beers like Heineken and Beck’s typically use the S System. While it functions similarly to the D System, the s system keg coupler's valve design is different, so it’s not interchangeable with American kegs.
-
M System: The M System is used less often, but it’s still important for brands like Pilsner Urquell. This system shares many similarities with the S System, but it has its own unique valve design, making it incompatible with other types.
-
A System: This system is used for older British beers and cask ales. It’s less common today but still required for certain older kegs or specific British brands.
-
U System: A u system keg coupler is designed specifically for stout beers – such as Guinness – that require higher carbonation and pressure. The U System is ideal for kegs that use nitrogen or a nitrogen/CO2 blend, as it helps control the pressure needed to dispense stout beers correctly. A U System Keg Coupler Attachment for Stout Beer Kegs is highly recommended as this attachment allows for the proper flow, maintaining the signature creamy texture and quality of stout beer.
-
G System: Often used in European markets, the G type coupler system is specifically designed for kegs that store beers like Carlsberg and other brands from Denmark. This system features a specific valve design that provides the necessary pressure and flow characteristics for these types of beers, dispensing them at the optimal conditions.
To determine which keg coupler works with your keg, you'll need to identify the keg's valve type. Most kegs will come with a valve that matches a specific coupler system. For example, the American Sankey (D System) is standard for domestic kegs, while European or specialty beers may require the S or M System. Some kegs may even include a coupler, but in other cases, you’ll need to purchase one separately.
The key to selecting the right coupler is matching it with the keg valve. Always double-check the type of valve on your keg and make sure the coupler you’re using is compatible. This will prevent issues like leaks or poor beer flow.
Step-by-Step Guide to Installing a Keg Coupler
Installing a keg coupler might seem like a simple task, but it’s critical to do it properly to avoid issues such as leaks or beer flow problems. Here’s a step-by-step guide for installing your keg coupler:
-
Prepare the Keg and Coupler: Begin by placing the keg in a stable, upright position. Confirm that your keg coupler matches the valve of your keg. Before installation, clean the coupler to remove dust or debris.
-
Insert the Coupler into the Keg Valve: Line up the coupler with the keg's valve, then press it down firmly. Turn the coupler handle to lock it into place. When the coupler is securely locked, you’ll hear a click or feel resistance.
-
Connect the Gas Line: If you’re using CO2 or nitrogen, connect the gas line to the coupler’s gas port. Make sure the connection is tight to prevent any leaks of gas.
-
Attach the Beer Line: Connect the beer line to the coupler’s beer port. This line will transport the beer from the keg to the faucet.
-
Test for Leaks: Once everything is connected, slowly turn on the gas and check for any leaks around the coupler and beer line. If you notice any, disconnect and reconnect the parts, making certain that there is a tight seal.
Common Mistakes to Avoid During Installation
-
Incorrect Coupler Type: Always match the coupler to your keg's valve. Using the wrong type can result in poor beer flow or even no flow at all.
-
Not Locking the Coupler Properly: Make sure the coupler is firmly locked in place. If it’s not, it can cause leakage or poor beer flow.
-
Incorrect Pressure Settings: Adjust the pressure properly. Too much pressure can lead to foaming, while too little will slow down the pour.
Maintaining Your Keg Coupler
Proper maintenance of your keg coupler is essential to prolong its life and keep your beer dispensing system running smoothly. Regular upkeep helps avoid issues like leaks, inconsistent flow, or contamination. Here's how to maintain your keg coupler effectively:
Regular Cleaning
Beer residue can build up inside the coupler, affecting beer quality and flow. Clean it regularly to maintain freshness and prevent blockages. Here’s how:
- Disconnect the coupler after each keg change or at least every two weeks.
- Disassemble the coupler, removing any rubber seals.
- Wash with warm water and a mild cleaning solution to remove residue and bacteria.
- Scrub hard-to-reach areas with a brush or cleaning tool.
- Rinse thoroughly and let the parts dry completely before reassembling.
Inspecting and Replacing Seals
Rubber seals create an airtight connection between the coupler and the keg valve. Over time, seals may wear out, causing leaks and affecting beer flow. Here's how to maintain them:
- Check for cracks, tears, or soft spots on the seals.
- Look for leakage or difficulty locking the coupler into place.
- Replace damaged seals promptly and lubricate them occasionally with food-safe lubricant to maintain their flexibility.
- Clean seals gently to avoid beer residue build-up, which can degrade them faster.
Lubricating the Coupler Handle
The handle of the keg coupler locks it into place. Over time, friction may cause stiffness. Regular lubrication keeps the handle functioning smoothly:
- Apply food-safe lubricant to the handle’s moving parts.
- Use sparingly and wipe away excess to prevent dust build-up.
- Clean the handle before lubricating to avoid debris damage.
Inspecting the Beer Line
The beer line, which runs from the coupler to the faucet, also requires attention. Check for kinks, leaks, or blockages that can disrupt flow or cause contamination:
- Look for kinks, cracks, or obstructions that may affect beer flow.
- Clean the beer line with a specialized kit after every keg change.
- Inspect for mold or bacteria growth and clean thoroughly with a cleaning solution.
Solutions for Typical Problems Encountered with Keg Couplers
Despite routine maintenance, issues can still arise with your keg coupler. Here are some common problems and solutions to help you troubleshoot:
No Beer Flow
If your keg coupler isn’t dispensing beer, there could be a few reasons for this. First, check that the coupler is locked securely into the keg valve. A loose coupler will cause the beer flow to stop completely. How to fix no beer flow:
-
Recheck the Coupler Connection: Confirm the coupler is properly locked into the keg valve. If it’s not, the beer will not flow.
-
Check for Blockages: Inspect the beer line for any blockages or kinks. A blockage can stop the beer from reaching the faucet.
-
Check the Gas Pressure: If the CO2 pressure is too low, it can prevent the beer from being pushed out of the keg. Make sure the gas line is connected properly and that the CO2 tank has enough pressure.
Leaks Around the Coupler
Leaks can occur if the coupler isn’t locked into place properly or if the seals are damaged. A leaking keg coupler doesn't just waste beer but it also reduces the overall pressure in the system, affecting the dispensing quality. Fixing this issue includes:
-
Recheck the Seal: Inspect the seals on the coupler for any damage. Replace any worn-out seals to stop the leaks.
-
Secure the Coupler: Make sure the coupler is locked in place correctly. A loose coupler may not form a tight seal with the keg, leading to leaks.
-
Check the Gas Line Connection: If the gas line is not tightly connected to the coupler’s gas port, it can cause leaks. Tighten the connection as needed.
Choosing the Right Keg Coupler for Your Needs
Are you wondering “which keg coupler do I need?” Well, selecting the right keg coupler involves considering several factors based on your specific needs. Here's what to keep in mind:
-
Keg Type
The type of keg you're using will dictate the coupler you need. Most domestic kegs use the D System coupler, while specialty or European kegs may require the S or M Systems. Always match the coupler with your keg valve type to avoid compatibility issues.
-
Beer Type
The type of beer you're dispensing also affects your choice of coupler. Some beers, like stouts, require nitrogen instead of CO2, so you'll need a coupler that can handle that gas type.
-
Durability and Quality
Look for a coupler made from durable materials that can withstand frequent use, especially if you're running a commercial beer system. A well-built coupler will last longer and perform better under pressure.
Comparison of Leading Keg Coupler Brands
When choosing a keg coupler, it's essential to consider top brands and their offerings. Here's a quick comparison:
-
Perlick
-
Features: Known for durable, easy-to-maintain couplers. Compatible with various kegs, they offer efficient flow control and reduce beer waste.
-
Advantage: Unique ball and spring mechanism for better flow.
-
Micro Matic
-
Features: Reliable and compatible with domestic, European, and specialty kegs. Offers models with quick-disconnect for easier keg swaps.
-
Advantage: Strong seals and ease of use.
-
KegWorks
-
Features: Affordable, durable, and easy to install. Compatible with both CO2 and nitrogen systems.
-
Advantage: Great for home brewers setups as well as commercial kegs.
-
Trekker
-
Features: Cost-effective and simple to use, compatible with a wide range of kegs.
- Advantage: Budget-friendly without compromising performance.
-
DraughtCraft
-
Features: Specializes in craft beer, offering couplers designed for various beer types, like IPAs and stouts.
- Advantage: Focused on preserving beer freshness and flavor.
Troubleshooting and FAQs
Strategies for Diagnosing and Fixing Excessive Foam
Excessive foam in draft beer systems can be a common issue, but there are straightforward strategies to diagnose and fix it.
-
Adjust CO2 Pressure: If the pressure is too high, it will force too much gas into the beer, creating excessive foam. For most beers, aim for a CO2 pressure of 10-14 PSI, adjusting as necessary based on the beer style.
-
Review Beer Line Length: Lines that are too short can cause fast pouring and foam, while lines that are too long can create resistance. Aim for 5-10 feet of beer line to prevent both problems.
-
Inspect for Blockages: Kinks or obstructions in the beer line can restrict flow and cause foaming. Regularly inspect and clean beer lines to prevent build-up that could lead to issues.
-
Check for Air Leaks: Leaks at the coupler or gas lines can cause pressure fluctuations, leading to foam. Tighten connections and replace worn seals to avoid air entering the system.
-
Clean the Faucet: Build-up in the faucet can restrict flow and cause foam. Regularly clean and inspect the faucet for smooth operation.
-
Monitor Keg Condition: Over-carbonated beer can result in excess foam. Adjust the gas pressure in the keg if necessary to avoid over-carbonation.
By adjusting pressure, maintaining temperature, and keeping your system clean, you can fix foam issues and enjoy a smooth pour every time.
FAQs
Why Is My Beer Foaming?
Foamy beer is often caused by high CO2 pressure, improper temperature, or long beer lines. Start by adjusting the pressure and checking the beer temperature to fix the issue.
My Coupler Doesn’t Fit. What Should I Do?
Check the type of valve on your keg and make sure you're using the correct coupler. If the coupler doesn’t fit, you might need an adapter or a different coupler.
How Often Should I Clean My Keg Coupler?
Clean your keg coupler and beer lines after each keg change or at least every two weeks to prevent build-up and bacteria growth.
Master Your Beer Dispensing System
Mastering keg coupler installation, maintenance, and troubleshooting is essential for running a smooth and efficient beer dispensing system. Whether you’re starting out with homebrew keg kits or managing a commercial draft beer system, having the right knowledge and tools will help you keep your system running smoothly. A properly installed and maintained keg coupler system will give you the ability to serve fresh, perfectly carbonated beer every time.


