If you’ve noticed water pooling at the bottom of your fridge or an unexplained leak, the culprit might be a clogged or damaged drain tube. This small but vital component ensures that excess condensation and water are properly channeled out of the refrigerator. Over time, the drain tube can become clogged with debris, mold, or even ice, blocking the flow of water and causing leakage inside the fridge. This step-by-step guide on how to replace a refrigerator drain tube will walk you through the process, helping you avoid further damage to keep your fridge in peak working condition.
Tools & Materials You’ll Need
Before continuing with the steps on how to replace a drain pipe in your fridge, make sure you have the following tools and materials on hand:
- Replacement drain tube (consult your fridge’s manual for the correct part)
- Screwdriver (flathead or Phillips, depending on your fridge model)
- Small brush or pipe cleaner
- Towels or rags (to catch any spills)
- Bowl or bucket (to collect water during the process)
How to Replace a Refrigerator Drain Tube: Step By Step
Step 1: Unplug Your Refrigerator
Safety first! Always unplug your refrigerator from the power source before starting any repairs.
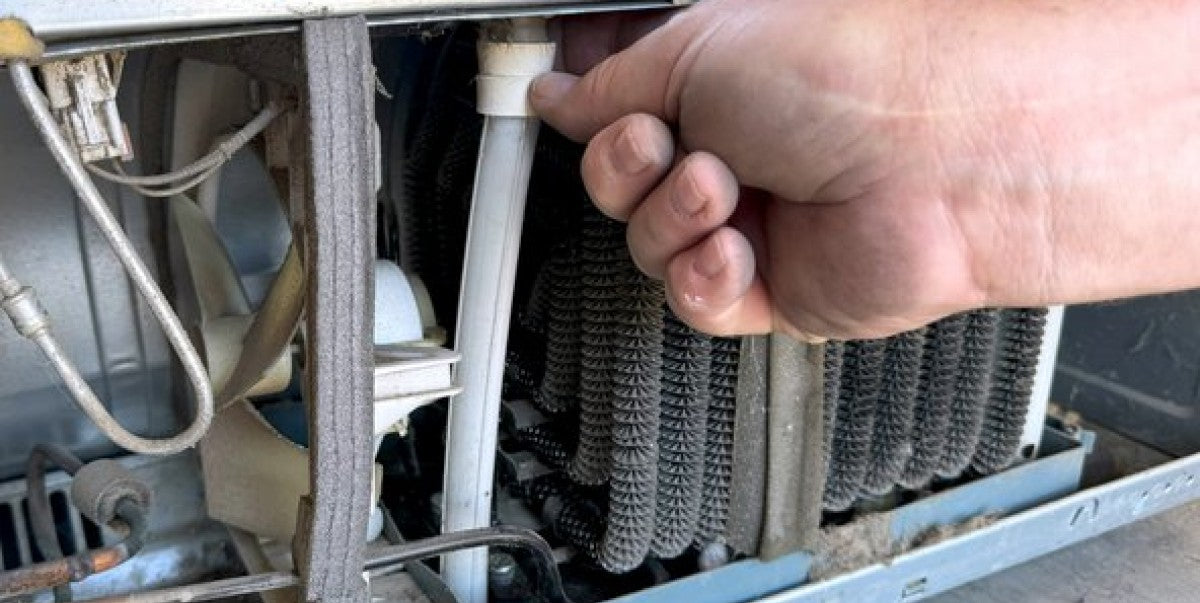
Step 2: Locate the Drain Tube
The next step is to find the drain tube. Most refrigerator models have the tube located at the back of the unit, but the exact location can vary based on the type of fridge you have:
- Top-Freezer Models: The drain tube is typically located behind the freezer’s back panel. To access it, you may need to remove the shelving and the back panel inside the freezer.
- Bottom-Freezer Models: In these models, the drain tube is usually found in the rear compartment, located behind the refrigerator.
Step 3: Remove the Back Panel
Using your screwdriver, remove the screws securing the back panel of your fridge. Set the screws and panel aside in a safe place for reassembly later.
Step 4: Inspect and Clean the Drain Tube
Before jumping into replacing the tube, check to see if it’s simply clogged. Look for any visible blockages such as debris, mold, or ice. Using a small brush or pipe cleaner, gently clean out the tube.
Step 5: Remove the Old Drain Tube
Once you’ve determined that a replacement is necessary, carefully detach the old drain tube. Depending on your fridge model, this may involve unscrewing the tube from its connectors or simply pulling it off. After removing the old tube, use a towel to wipe away any water that spills out.
Step 6: Install the New Drain Tube
Take the new drain tube and attach it in the same position as the old one, ensuring that it’s securely fastened. If your fridge model uses screws to hold the tube in place, use the screws you removed earlier or those provided with the new part.
Step 7: Test the Drainage
Before reassembling the fridge, test the new drain tube to make sure it’s working correctly. Pour a small amount of water into the drain pan inside the refrigerator. If the water flows smoothly through the tube and exits at the back of the unit, you’re all set.
Step 8: Reassemble Your Refrigerator
It’s time to put everything back together. Reattach the back panel using the screws you set aside earlier. Securely fasten everything before plugging your refrigerator back into the power source.
Step 9: Monitor for Any Leaks
After completing the replacement, keep an eye on the fridge for a few days to make sure there are no leaks. If you notice any water pooling again, you may need to revisit the steps above. Replacing a clogged or damaged drain tube in your refrigerator is a straightforward DIY fix that can save you the cost of professional repairs and prevent further damage to your appliance. By following this guide on how to replace a drain pipe in your fridge, you can resolve current issues and extend the unit’s life. If replacing the drain tube doesn’t resolve the problem, you may need to purchase a new refrigerator. Iron Mountain Refrigeration offers a wide range of high-quality, dependable, and energy-efficient options to meet the needs of homeowners and businesses.