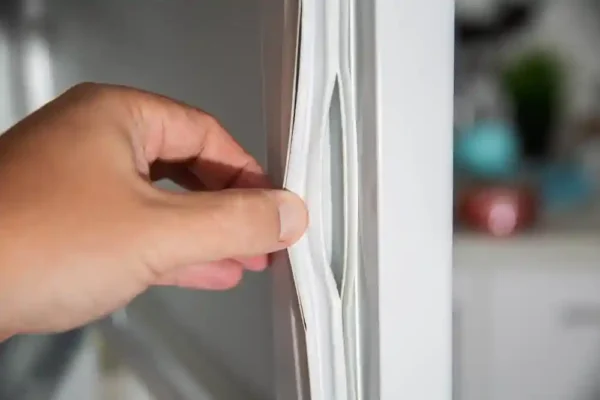
Replacing the gasket on your walk-in freezer is key to maintaining an effective seal, keeping cold air inside and preventing energy waste. Over time, door gaskets can wear out, causing leaks and temperature fluctuations. Learning how to replace a walk-in freezer door gasket can save you money on repairs and help your freezer, fridge or cooler run more efficiently.
Step-by-Step Instructions on How to Replace a Walk-In Freezer Door Gasket
1. Gather the necessary tools
- Replacement gasket (specific to your freezer’s make and model)
- Screwdriver (flathead and Phillips)
- Hex wrench (if needed)
- Clean cloth and mild cleaning solution
Before starting, confirm you have the correct replacement gasket. Gaskets can vary depending on brand, model and size, so it’s important to check the manufacturer’s manual to find the exact match for your unit.
2. Remove the old gasket
- Open the freezer door wide enough to access the gasket fully.
- Locate the screws or retainers holding the current gasket in place. Most gaskets are held by screws that can be removed with a Phillips screwdriver or hex wrench.
- Carefully remove the old gasket by pulling it away from the door frame once the screws or retainers are removed.
Tip: If the gasket is glued to the frame, gently pry it away with a flathead screwdriver without damaging the door.
3. Prepare the door surface
- After removing the old gasket, clean the door surface thoroughly with a mild cleaning solution. Dirt and old adhesive can prevent the new gasket from sealing properly.
- Make sure the surface is completely dry before moving forward.
4. Install the new gasket
- Align the new gasket with the door frame, making sure it fits properly. If the gasket seems stiff, gently warm it with a hairdryer to make it more flexible.
- Starting from one corner, press the gasket firmly into the frame, working your way around the door.
- Reinstall screws or retainers to secure the new gasket in place.
Note: Some gaskets come with magnetic strips that help with sealing. Be sure they are properly aligned.
5. Test the seal
- After installing the new gasket, close the freezer door and check for gaps or areas where the gasket isn’t making full contact with the frame.
- Adjust the gasket if necessary to create a solid seal.
Installation Tips & Tricks
- Handle the new gasket carefully, as bending or overstretching it can affect its ability to form a tight seal.
- Use a hairdryer to warm the gasket if it doesn’t lay flat initially. This will make it more pliable and easier to fit.
- Consult your freezer’s user manual for any model-specific instructions to get the best fit.
- Regularly check the door gasket for signs of wear or damage to avoid cooling inefficiency and energy loss.
Why Gasket Maintenance Matters
Maintaining the gasket on your walk-in freezer, fridge or cooler is vital for performance. A well-fitting gasket keeps the temperature consistent, reduces energy consumption and minimizes strain on the refrigeration system. It also helps prevent frost buildup, which can affect the freezer’s overall operation. By following these steps, you’ll extend the life of your equipment and prevent future issues.
Explore New Products
At Iron Mountain Refrigeration, we offer a wide range of top-quality refrigeration products. Whether you’re looking for upright coolers, display freezers or beverage fridges, our commercial units are designed to meet the demands of businesses both large and small. With advanced cooling technology, energy-efficient models and durable construction, these units provide reliable, long-lasting performance.
Explore our selection today and find the perfect solution to keep your business running smoothly.


